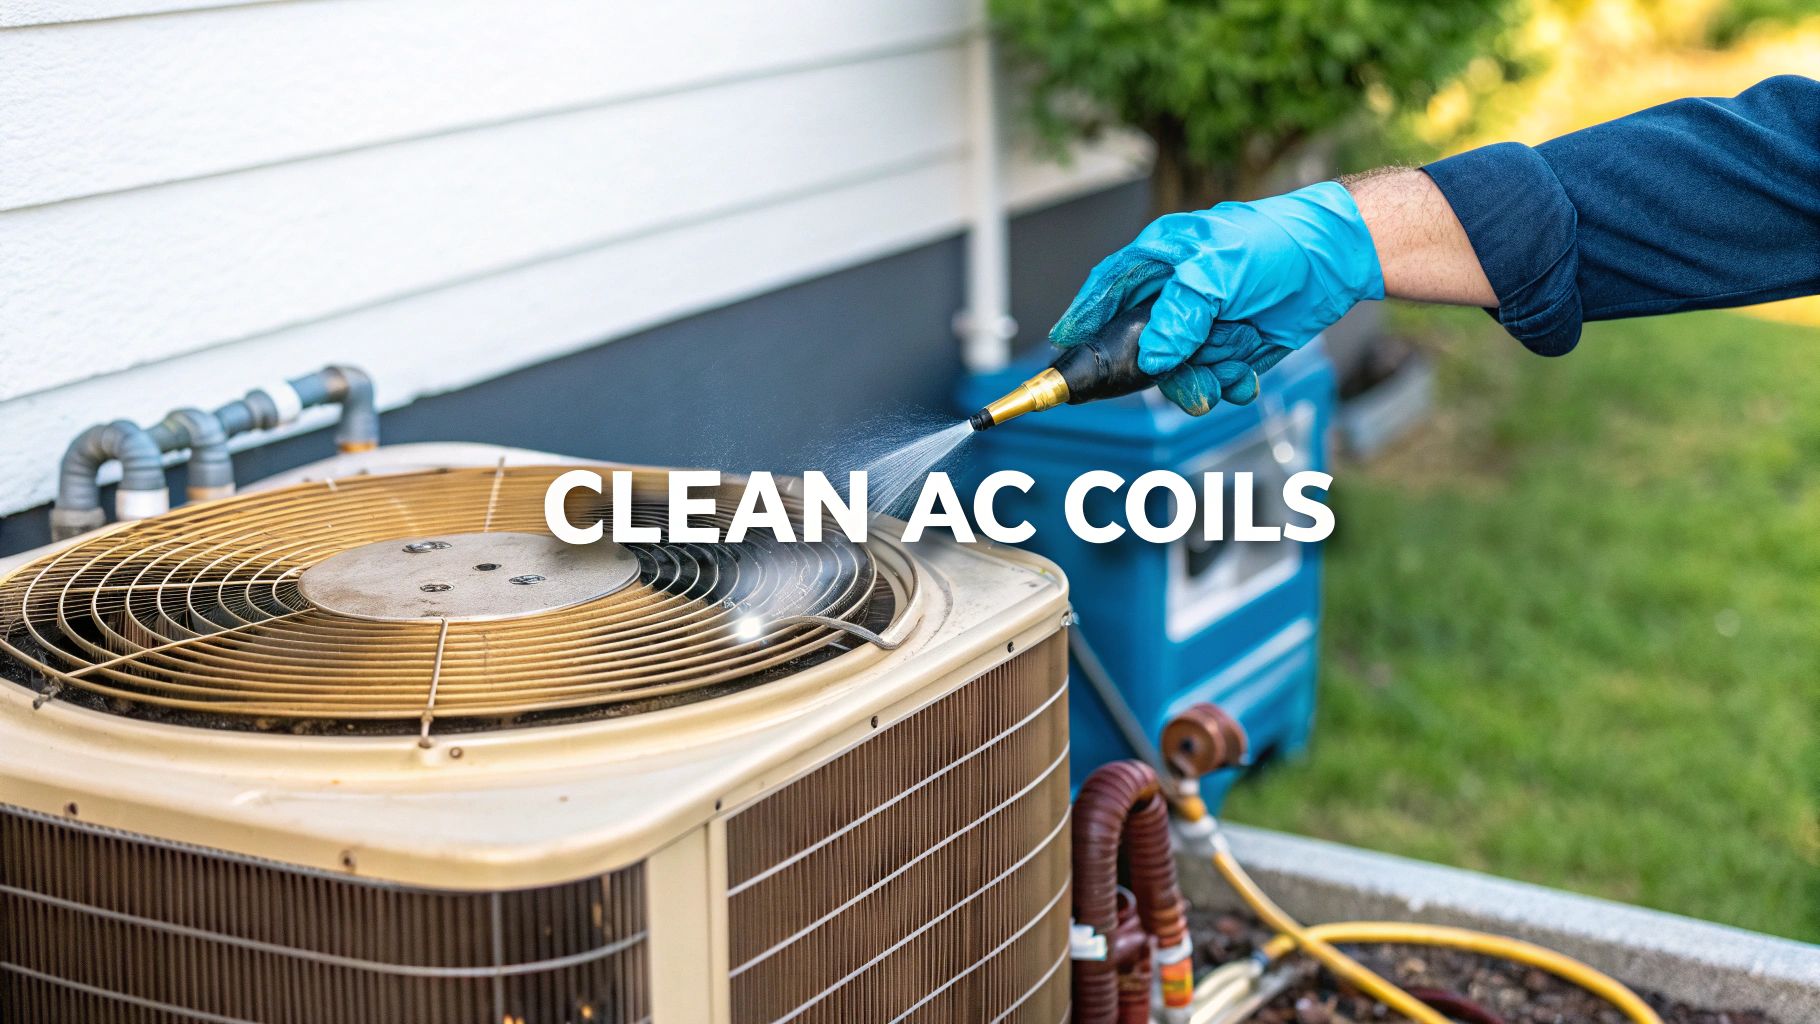
So, you want to know how to clean your air conditioning coils? The short version is you'll need to kill the power to the system, get to both the indoor and outdoor coils, and then carefully clean away all the built-up gunk with a good coil cleaner and a gentle rinse.
It sounds simple, and it is, but this one maintenance task can dramatically improve your AC's cooling power and help you dodge some expensive repair bills down the road.
Why Bother Cleaning Your AC Coils?
Before you even think about picking up a tool, let’s talk about why this is so important. Dirty AC coils are a quiet problem that can wreak havoc on your comfort and your wallet. I like to think of the coils as the lungs of your HVAC system. When they get clogged with dust, pollen, pet dander, and all the other grime that floats around, the whole unit just can't breathe properly.
This forces your air conditioner to work much harder to do its job. The immediate result? Your energy bills start creeping up, sometimes shockingly so. All that extra effort also puts a ton of strain on the most important parts of your system, especially the compressor, which can seriously shorten the lifespan of your entire unit.
The Payoff is Bigger Than You Think
This isn't just about saving a few bucks. Keeping those coils clean delivers some real, tangible benefits you'll notice day-to-day.
- Better Cooling: A clean system is an efficient one. It transfers heat the way it was designed to, which means your house cools down faster and stays comfortable, even when it's scorching outside.
- Healthier Air: Those damp, dirty coils are the perfect breeding ground for mold and bacteria. Cleaning them out means you’re not blowing those allergens all over your house.
- Fewer Breakdowns: A little proactive maintenance goes a long way. A simple cleaning can prevent the kind of major part failure that always seems to happen on the hottest day of the year.
Don't just take my word for it. The U.S. Department of Energy has found that this one task can boost your system's efficiency by up to 30%. That’s a huge deal. It cuts down your energy use and helps your equipment last longer by getting rid of all the gunk that drags down performance. If you want to dive deeper, the folks at Verified Market Reports have some great data on the impact of coil cleaners.
My Takeaway: Cleaning your AC coils isn't just another chore. Think of it as a smart investment in your home's efficiency and your family's comfort. Honestly, it's one of the most high-impact DIY jobs you can tackle.
Your Toolkit for Safe and Effective Coil Cleaning
Before you even think about touching your AC unit, let’s get your gear in order. Walking into a job unprepared is a surefire way to make it take twice as long and create a bigger mess. Having the right tools on hand from the start makes the whole process smoother, safer, and much more effective.
We're not just grabbing a garden hose and calling it a day. A proper cleaning requires a specific set of tools to do the job right without damaging your system.
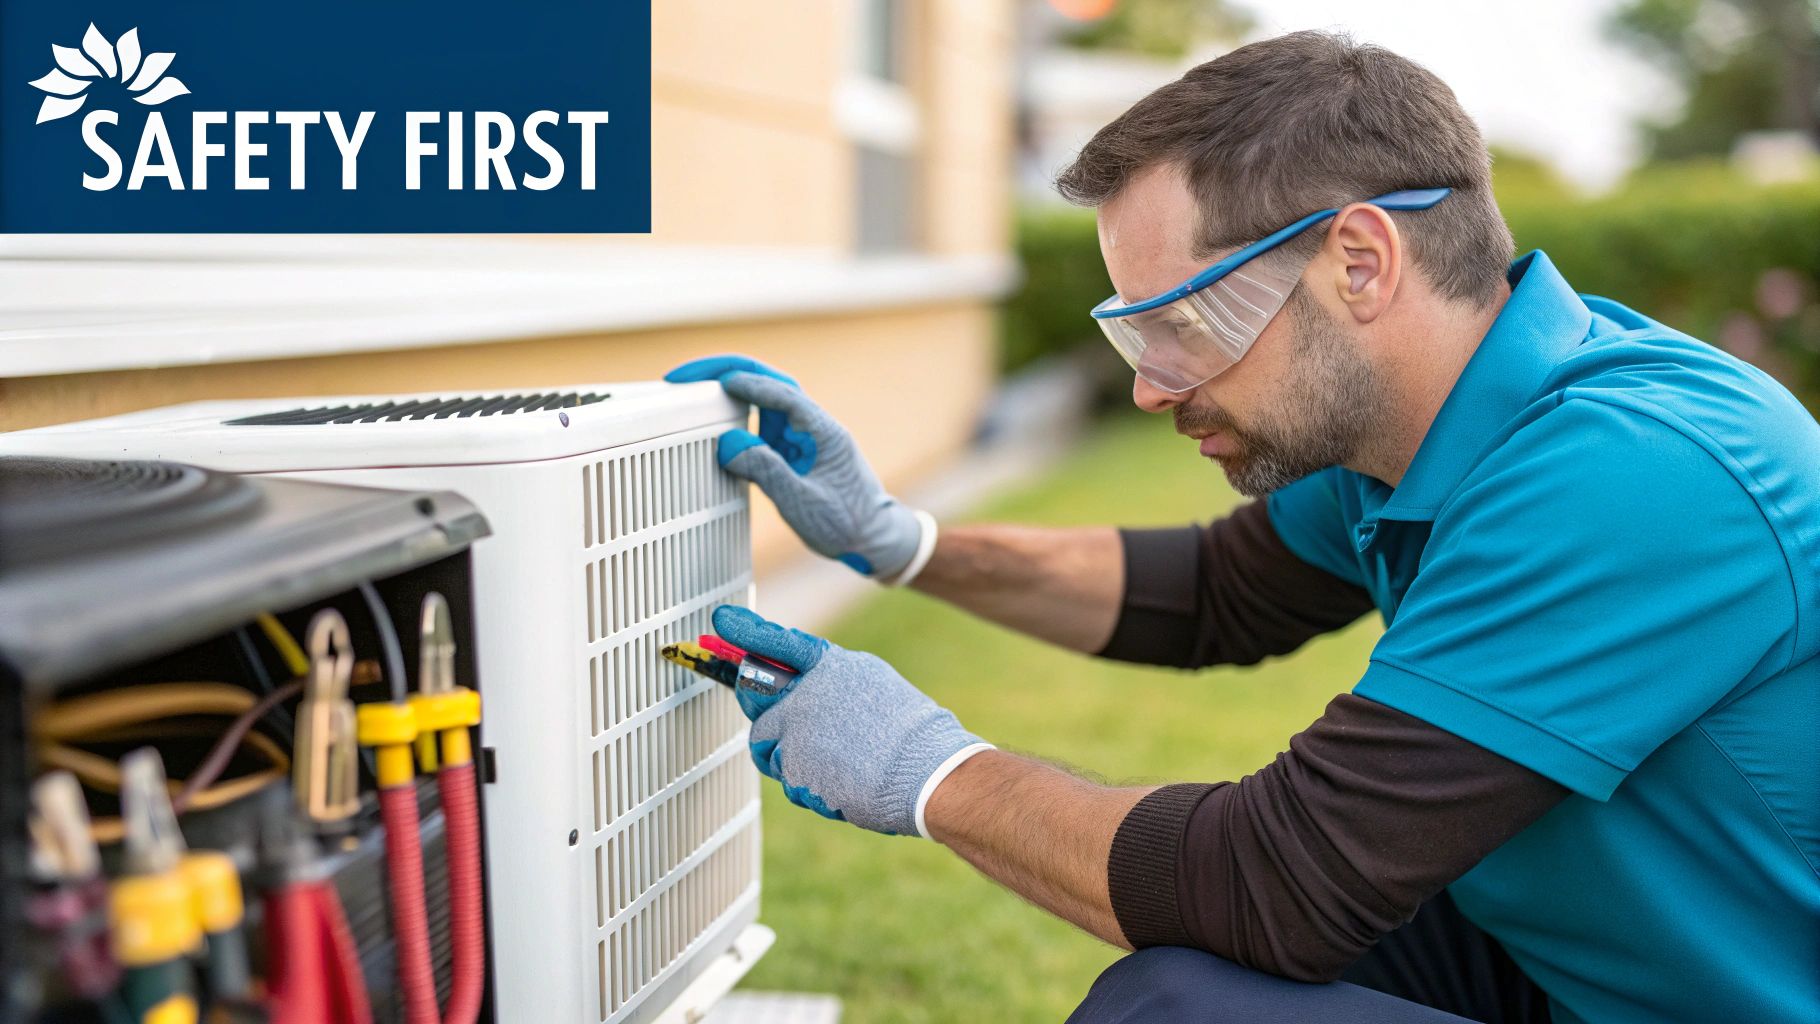
First Things First: Safety Gear
Your top priority is always safety. The metal fins on AC coils are paper-thin and can be razor-sharp. Trust me, you don't want to learn that lesson the hard way.
Always start with a good pair of work gloves and some safety glasses. The cleaning solutions can also be harsh on your skin and eyes, so this is a non-negotiable step.
Picking the Right Cleaner
Now for the cleaning solution itself. You've got a couple of solid options, and what you choose really depends on which set of coils you're cleaning.
- Commercial Foaming Cleaner: For the outdoor unit (the condenser coils), this stuff is gold. The foam expands deep into the fins and lifts out all the caked-on gunk. If you're working inside on the evaporator coils, make sure you grab a no-rinse formula designed specifically for that job.
- A Simple DIY Mix: If your outdoor coils are just dusty, a simple mix of mild dish soap and water in a spray bottle can do the trick. For anything more serious, though, a dedicated commercial cleaner is the way to go.
Pro Tip: Whatever you do, never use a pressure washer on your AC coils. The intense pressure will crush the delicate aluminum fins, blocking airflow and potentially wrecking your unit for good. A gentle rinse is all you need.
The Right Tools for the Job
To round out your toolkit, you'll need a couple of key items. A soft-bristle brush is perfect for gently scrubbing away stubborn dirt without bending those fragile fins.
You'll also want a fin comb. It’s a specialty tool that looks like a comb, and it’s designed to straighten out any fins that have been accidentally bent over time. Straight fins are crucial for good airflow and system efficiency. Finally, a standard garden hose with a spray nozzle set to a gentle “shower” setting will be your go-to for rinsing.
Essential Toolkit for Cleaning AC Coils
Here’s a quick checklist to make sure you have everything you need before you start. Gathering these items first will save you from making multiple trips back to the garage or hardware store.
| Item | Purpose | Where to Find |
|---|---|---|
| Work Gloves | Protects hands from sharp fins and chemicals. | Hardware store, home improvement center |
| Safety Glasses | Shields eyes from chemical spray and debris. | Hardware store, home improvement center |
| Foaming Coil Cleaner | Breaks down dirt and grime on the coils. | HVAC supply store, home improvement center |
| Soft-Bristle Brush | Gently scrubs away caked-on dirt. | Automotive or hardware store |
| Fin Comb | Straightens bent or damaged coil fins. | HVAC supply store, online retailers like Amazon |
| Garden Hose & Nozzle | Rinses the coils with gentle water pressure. | Any home and garden store |
With this toolkit assembled, you're well-equipped to tackle your AC coils like a pro.
Cleaning Your Outdoor Condenser Coils
Alright, let's get our hands dirty. This is where you’ll really see a difference in how well your AC runs. Cleaning the outdoor condenser coils isn't complicated, but you need to be methodical to avoid damaging the delicate fins.
First Things First: Safety
Before you even think about touching the unit, you absolutely must cut the power. I can't stress this enough.
Start by heading to your main breaker box and flipping the switch for your air conditioner to the "off" position. Next, find the metal disconnect box mounted on the wall near the outdoor unit itself. Open it up and either pull out the disconnect block or flip the switch inside to "off." Now, you're safe to work.
Getting the Unit Ready
With the power off, you can start clearing things out. The condenser's outer shell is great at protecting the unit, but it’s also a magnet for leaves, grass clippings, and all sorts of yard debris. Get in there and pull out the big stuff by hand, or use a shop vac to make quick work of it.
Now, you'll need to get inside. Most units have a top fan grille and protective side panels held on by a few screws. Remove them carefully. Lift the fan assembly straight up and set it gently to the side—be careful not to yank on the attached electrical wires. This gives you clear access to the coils from the inside out, which is key for the next part.
This visual guide can help you get your tools and the area prepped and ready to go.
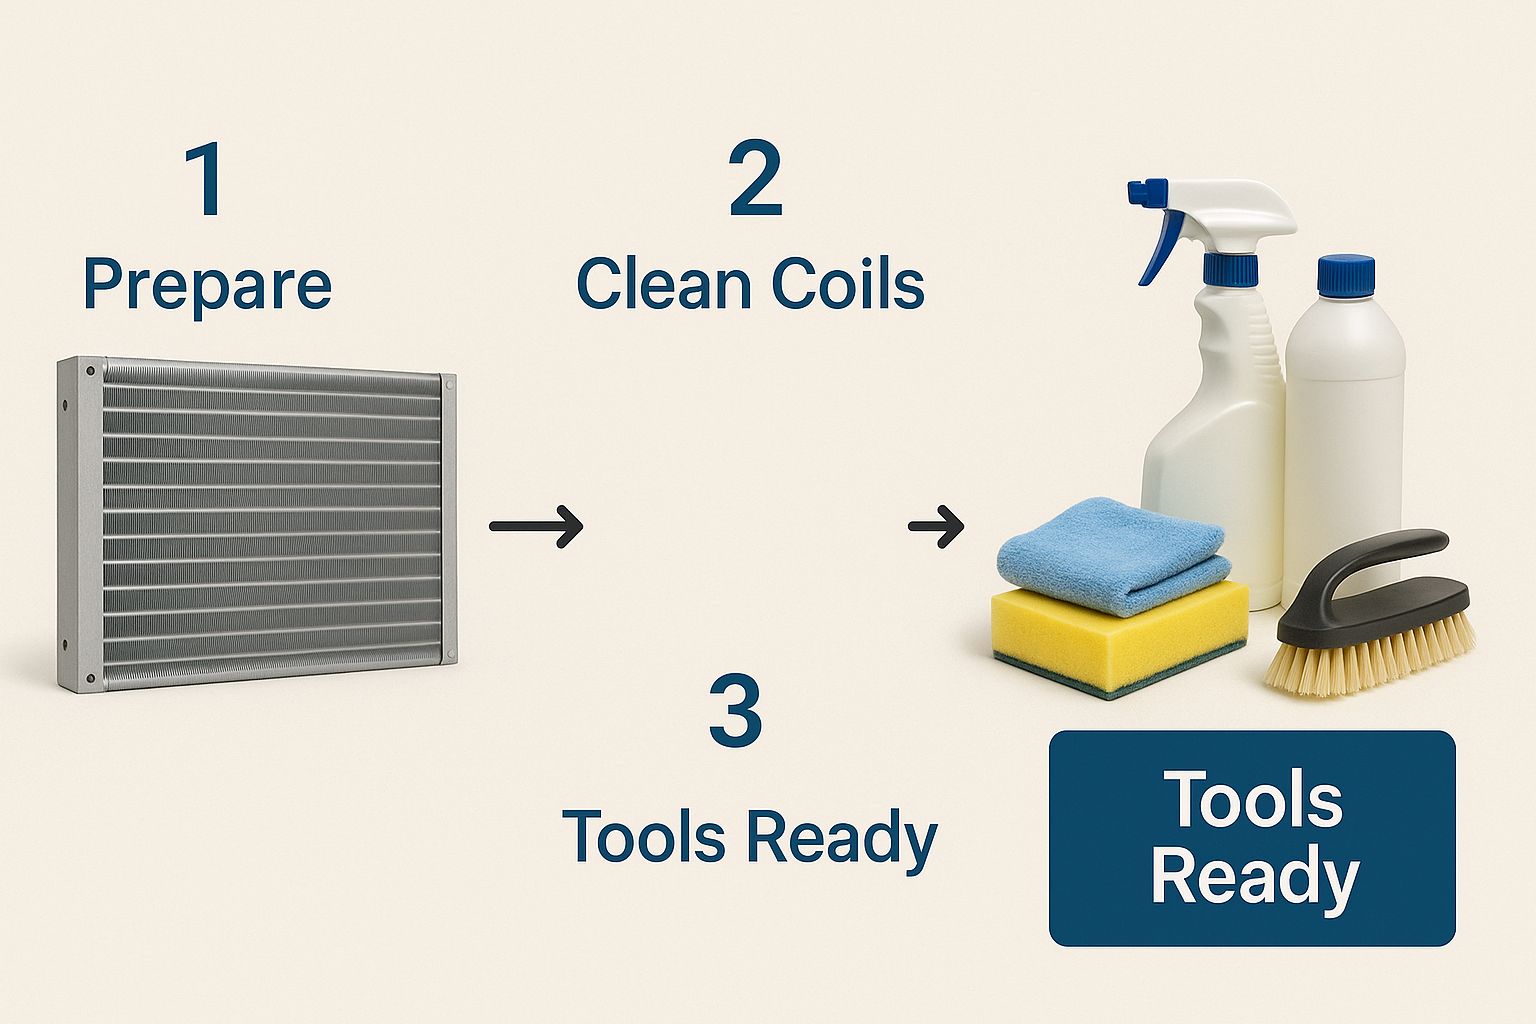
Having everything you need within arm's reach just makes the whole process go a lot smoother.
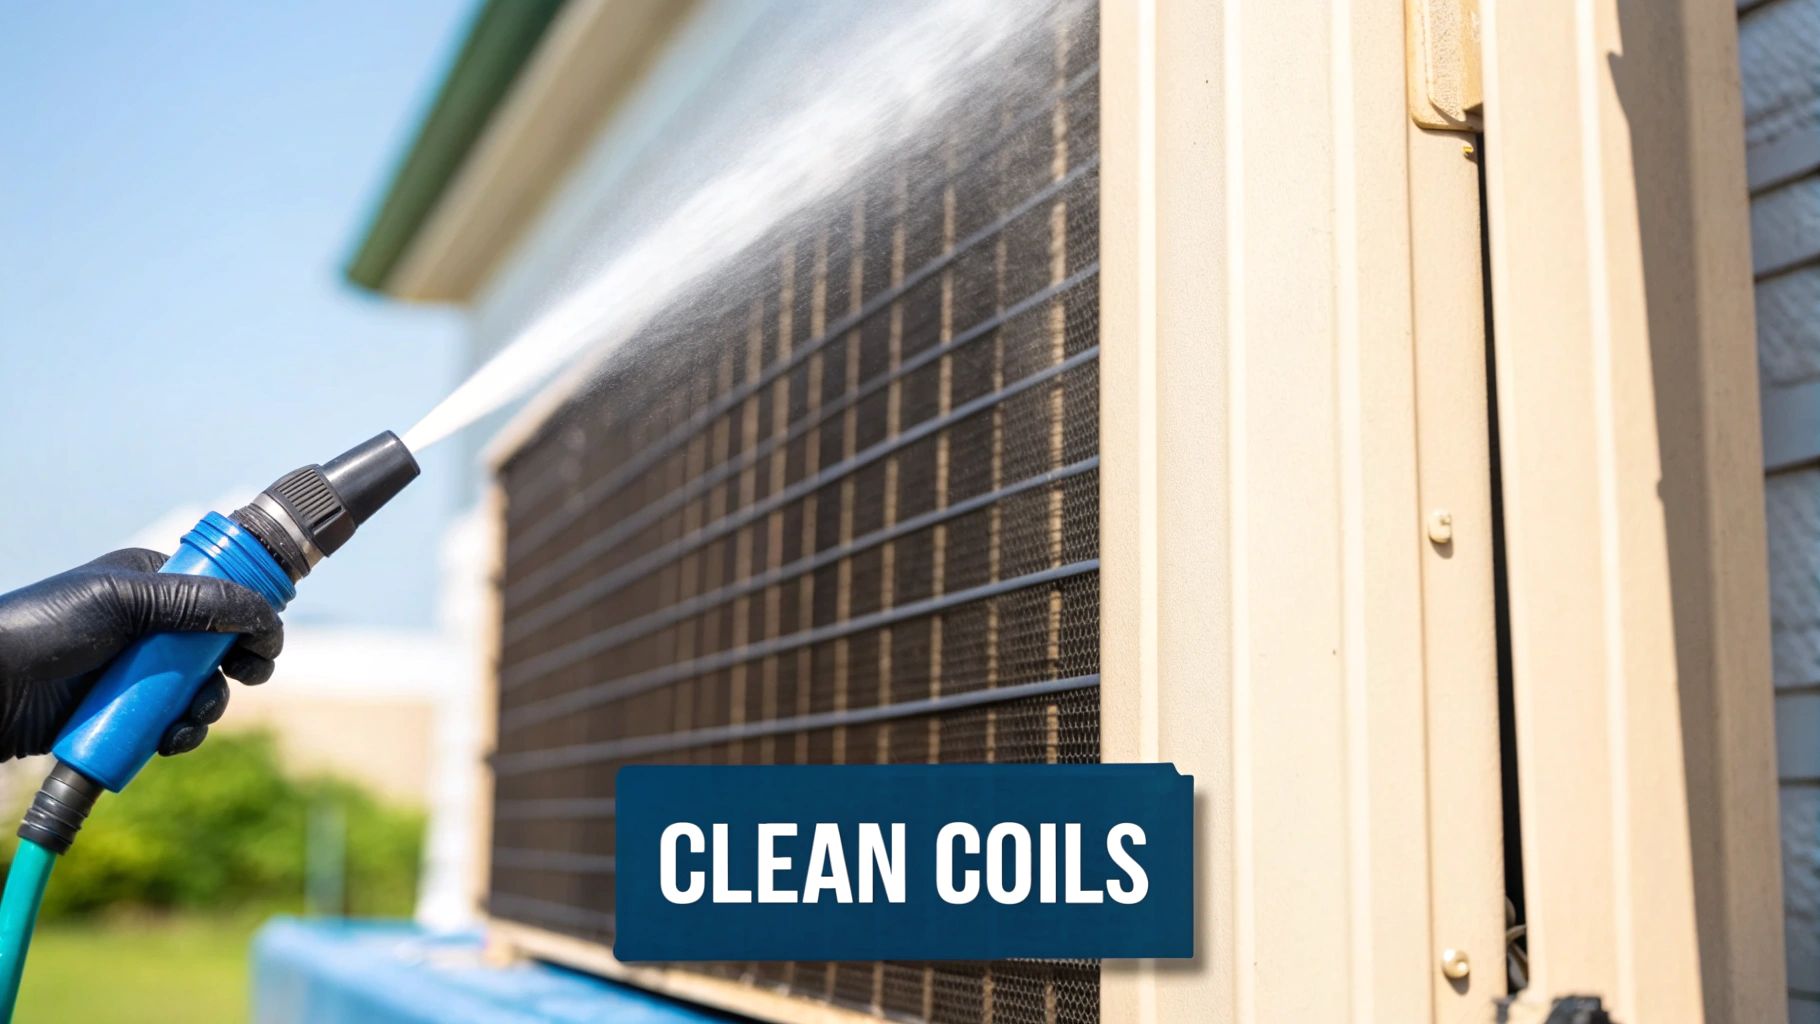
How to Clean and Rinse the Right Way
With the coils exposed, grab your foaming coil cleaner. Spray it on liberally, working from the top down and making sure you get good coverage on all the fins. You’ll see the foam expand as it works its way deep into the coil, breaking down all that caked-on grime. Let it sit for about 10-15 minutes, or whatever the instructions on the can say.
Here's the most common mistake I see: rinsing the coils from the outside. That just pushes all the dirt deeper into the unit. You have to spray from the inside out to properly flush all that gunk away from the system.
Take your garden hose with a gentle spray nozzle and rinse everything away. This simple change in direction makes all the difference, ensuring the airways are completely clear for maximum airflow. A clean system can run up to 20% more efficiently—a trick we use in commercial buildings all the time to slash energy costs.
Once you're done rinsing, just let the unit air dry for a bit before you put the panels and fan back on. For more great advice on keeping your system running smoothly, take a look at our essential AC and refrigeration tips for year-round comfort.
Finally, restore power at both the disconnect box and the breaker. Now you can kick back and enjoy that cooler, more efficient air.
Tackling the Indoor Evaporator Coils
Alright, with the outdoor unit looking good, let's head inside. Your indoor evaporator coils are next on the list, and they need a much gentler touch. These coils live inside your air handler, so you have to be careful to avoid making a watery mess in your home.
First, you've got to find them. Look for a removable access panel on your indoor air handler unit. Once you’ve killed the power at the breaker box, you can take off the screws and get a look inside. You'll likely see the coils in an A-frame shape, and don't be surprised if they're covered in a layer of gunk—this is all the dust and pet hair that managed to sneak past your air filter.
How to Clean Indoor Coils the Right Way
Unlike the outdoor unit, you can't just blast these with a garden hose. That’s a recipe for disaster. This is a job for a no-rinse foaming evaporator coil cleaner, which you can find at most home improvement stores. This stuff is great because it expands into a thick foam, breaks down all the grime, and then conveniently liquefies and runs down into the drain pan—no rinsing required.
Just spray the cleaner generously over the entire surface of the coils. Give the foam about 10-15 minutes to do its job (check the can for the exact time). If you see some really caked-on spots, you can use a soft-bristled brush to gently nudge the dirt loose. Always brush in the same direction as the delicate metal fins, or you risk bending them.
Crucial Tip: Whatever you do, don't grab a random household cleaner for this. Anything acidic or overly harsh can eat away at the aluminum and copper, causing refrigerant leaks. A leaking coil is a major, expensive repair you want to avoid. Stick with products made for HVAC coils.
Getting this right is a big deal for both efficiency and air quality. It's such a priority that in the commercial world, North America accounts for 28.5% of the HVAC coil cleaning market, thanks to tough energy regulations. You can find more data on the global commercial HVAC coil cleaning market to see just how important this is.
Don't Forget the Drain Pan and Line
While the cleaner is working its magic, all that dissolved gunk has to go somewhere. It drips down into the condensate drain pan right below the coils. This is the perfect time to give that area a quick check. A blocked drain line is one of the most common causes of AC-related water damage.
If you see any standing water or sludge in the pan, suck it out with a wet/dry vac. To help keep things flowing, you can pour a 50/50 mix of distilled vinegar and water down the drain line. This little trick helps dissolve any buildup and prevent clogs from forming.
Once the pan is clean and the coils look good, you can put the access panel back on, and you're all set.
Smart Habits for Year-Round AC Health
So, you’ve cleaned your coils. Fantastic. But keeping your AC happy and healthy is an ongoing effort, not a one-and-done chore. A few simple habits can make a huge difference, preventing that gunk from building up again, keeping your energy bills down, and helping you sidestep those dreaded summer breakdowns.
Think of it like car maintenance. You don't just wait for the engine to seize up before you check the oil, right? The same logic applies to your air conditioner. Staying ahead of potential problems is always smarter—and cheaper—than scrambling for an emergency repair.
Set a Simple Maintenance Schedule
The easiest way to stay on track is to put it on the calendar. I always tell homeowners to set a reminder to clean their AC coils every spring, right before the serious heat arrives. That way, you know your system is prepped and ready for its busiest season.
But don't forget about your air filter. It's your system's first line of defense, and if it gets clogged, all that dust and pet dander goes straight to your nice, clean evaporator coils.
Here’s a good rule of thumb:
- Do a Monthly Visual Check: Just hold the filter up to a light. If you can't see the light shining through, it’s time for a new one. Simple as that.
- Replace It Every 1-3 Months: For most homes, every three months is fine. If you have pets or anyone with bad allergies, you'll want to swap it out monthly to keep the air quality high.
Pro Tip: Don't neglect the space around your outdoor unit. You need to give it room to breathe. Always keep at least two feet of clearance on all sides. That means trimming back shrubs, pulling weeds, and clearing away any leaves or grass clippings that could get sucked into the fins and block airflow.
These small, consistent actions are exactly how regular maintenance extends your AC's lifespan. By staying on top of these little tasks, you’re not just keeping the coils clean—you’re ensuring the entire system runs better for years to come.
Got Questions About Cleaning Your AC Coils?
Even with a good guide, it's natural to have a few questions pop up before you get started. Let's walk through some of the things people often ask about cleaning their AC coils, so you can tackle this job with confidence.
How Often Should I Be Cleaning My Coils?
For the average home, giving your coils a good cleaning once a year is perfect. I always recommend doing it in the spring, right before the serious summer heat arrives. This gets your system primed and ready for its busiest season.
That said, your environment really matters. If you're in a dusty spot or have cottonwood trees that shed everywhere, you might want to bump it up to twice a year. Staying on top of it prevents that thick, caked-on gunk that makes your AC work way too hard.
Is It Okay to Use a Pressure Washer?
I get this question a lot, and the answer is a firm no. A pressure washer is just too powerful and will absolutely wreck the fragile aluminum fins on your coils.
The high-pressure blast will bend and flatten those fins in a second. Once they're bent, airflow is choked off, which puts immense strain on your compressor and can lead to a total system failure. Always, always stick to a gentle spray from a garden hose.
What Happens If I Just Don't Clean Them?
Putting off this task is asking for trouble down the road. It starts small—your energy bills creep up because the system has to run longer and harder to cool your home. But that's just the beginning.
Over time, that constant strain wears everything out faster. You could end up with a frozen evaporator coil or, worse, a burned-out compressor, which is one of the costliest repairs an AC can have. If your unit is already acting up, you should learn the other signs your AC needs repair before it's too late.
If you've taken a look at your coils and the buildup seems like more than you want to handle, or if you simply prefer a professional touch, Florida Cooling Group is ready to help. Our experienced technicians can give your system a deep, professional cleaning to get it running at peak efficiency again. Contact us today at https://floridacoolinggroup.com to get your service on the books.
Charlie Hadida is a senior HVAC technician and the SEO lead at Florida Cooling Group, with years of real-world experience diagnosing, repairing, and installing residential and commercial HVAC systems throughout Palm Beach and Broward County.
Unlike generic marketing content, Charlie’s work is grounded in on-site service experience — from troubleshooting electrical and airflow issues to overseeing full system replacements, crane lifts, and code-compliant installations. His technical background allows him to translate complex HVAC concepts into clear, accurate, and helpful information for homeowners, property managers, and business owners.
In addition to working in the field, Charlie leads Florida Cooling Group’s SEO and content strategy, ensuring that all service pages, guides, and educational resources reflect real conditions technicians encounter every day. This includes topics such as AC repair, preventive maintenance, system replacements, energy efficiency, permitting requirements, and South Florida–specific climate challenges.
Charlie plays an active role in shaping Florida Cooling Group’s service standards, maintenance programs, and long-term customer education efforts. His combined technical and SEO expertise helps bridge the gap between what customers search for online and what actually matters when servicing HVAC systems in Florida’s demanding environment.
Licensed HVAC Technician (Florida)
Residential & commercial HVAC experience
Hands-on system diagnostics, repairs, and installations
Experience with rooftop units, split systems, and package units
Local experience serving Palm Beach & Broward County
Areas of Expertise:
AC Repair & Troubleshooting
Preventive Maintenance & Service Agreements
HVAC System Replacements & Change-Outs
Commercial HVAC Systems
South Florida HVAC Codes & Permitting