(561) 400-2205
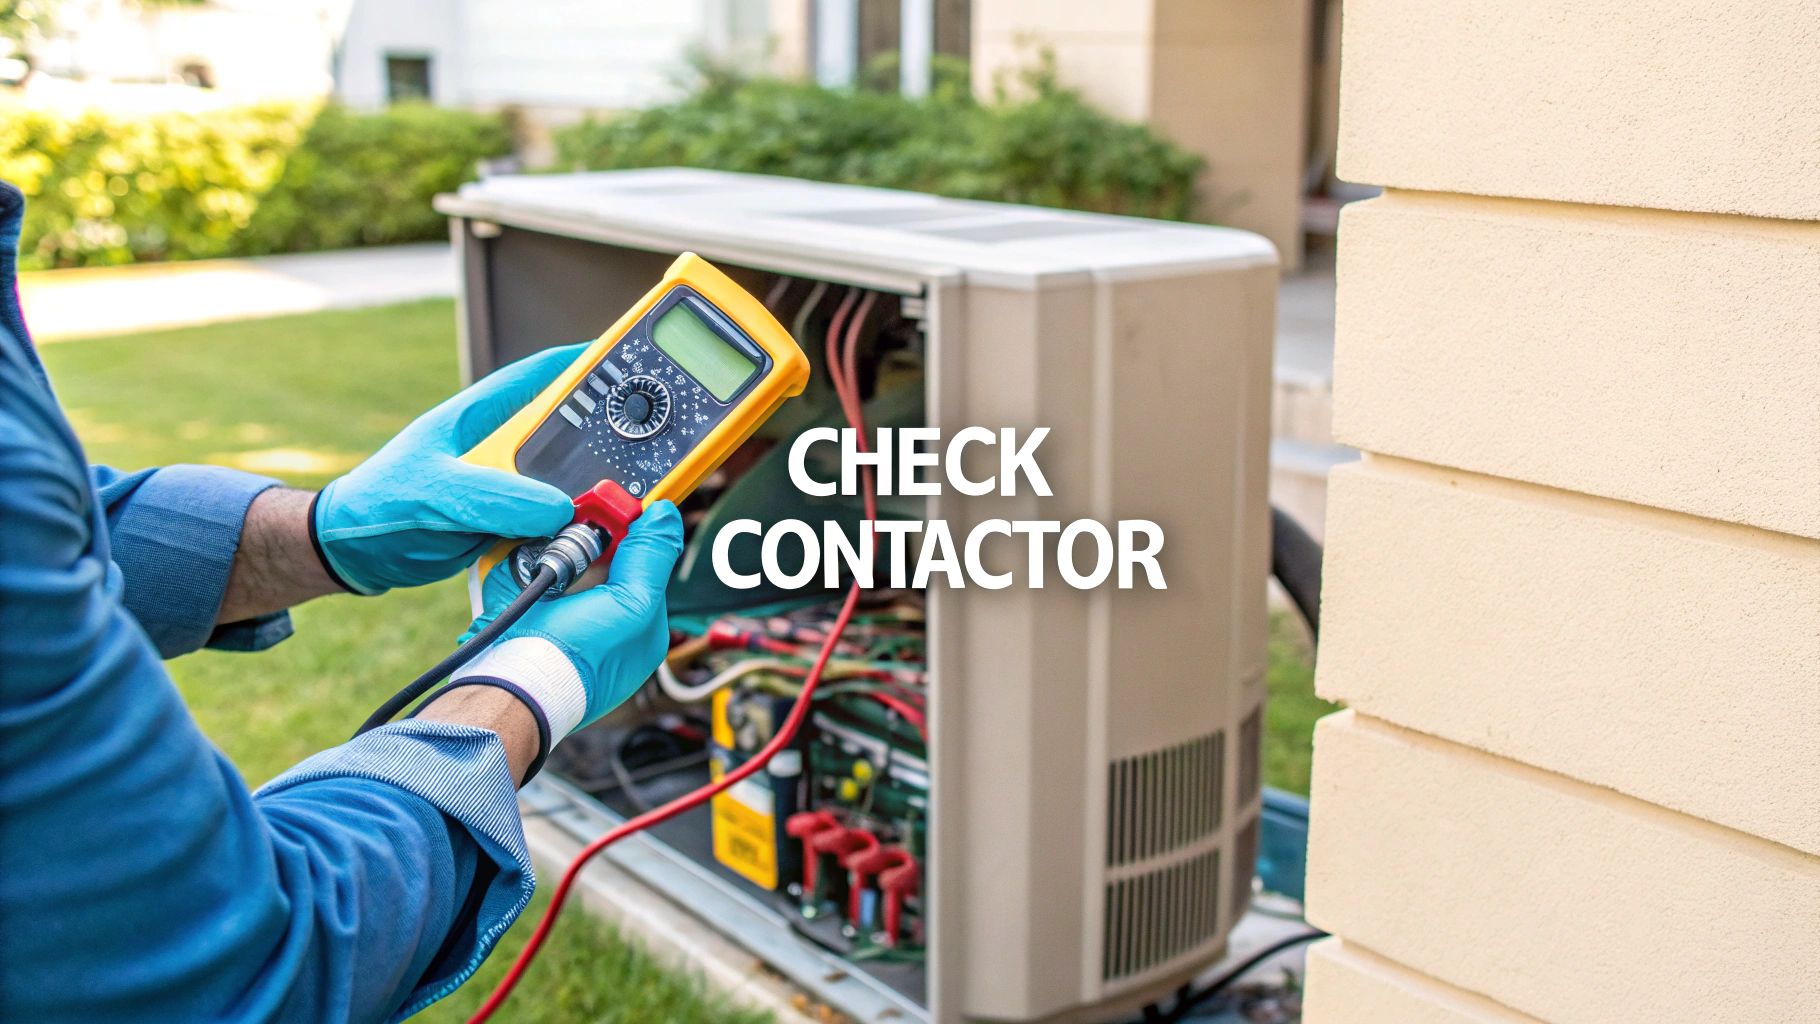
When your AC is humming but not actually cooling, the contactor is one of the first things I check. You’ll want to start by shutting off all power to the unit—seriously, don’t skip this—then pop the panel off for a visual inspection. From there, a multimeter test will tell you the rest of the story.
This little part is a common culprit. Think of it as a drawbridge; when it gets stuck open, it stops the high-voltage power from ever reaching your compressor and fan motor.
Why Your AC Contator Might Be the Problem
So, why does this one small part matter so much? The contactor is basically a heavy-duty electrical switch. Your thermostat sends a low-voltage signal (usually 24 volts) telling it to pull in a plunger, which closes the circuit and lets the high-voltage power flow to the components that do the real work.
If that contactor is worn out or damaged, you get all sorts of headaches. The system might not start at all, or you might hear that classic humming or buzzing sound from the outdoor unit. Understanding the basics of how an aircon works can help put its role into perspective.
The High Cost of a Small Failure
A bad contactor isn't just an annoyance; it's a ticking time bomb for your system. A shocking 68% of compressor failures can be traced right back to a faulty contactor, making it a critical point of failure. That buzzing noise you hear? That's a serious red flag.
When a contactor starts to fail, its electrical connections can get so hot they exceed 300°F. This can melt wires, warp nearby components, and in a worst-case scenario, start an electrical fire. In fact, about 15% of AC-related fires are linked to contactor failures. This isn't something you want to ignore.
Key Takeaway: A failing contactor is a direct threat to your compressor, which is by far the most expensive part of your AC unit. Taking a few minutes to check it can literally save you thousands of dollars in repairs.
If you test the contactor and it seems to be working properly, there are other potential issues to look into. Our complete air conditioning troubleshooting guide can walk you through some other common problems and what to do about them.
Essential Safety Steps and Tools
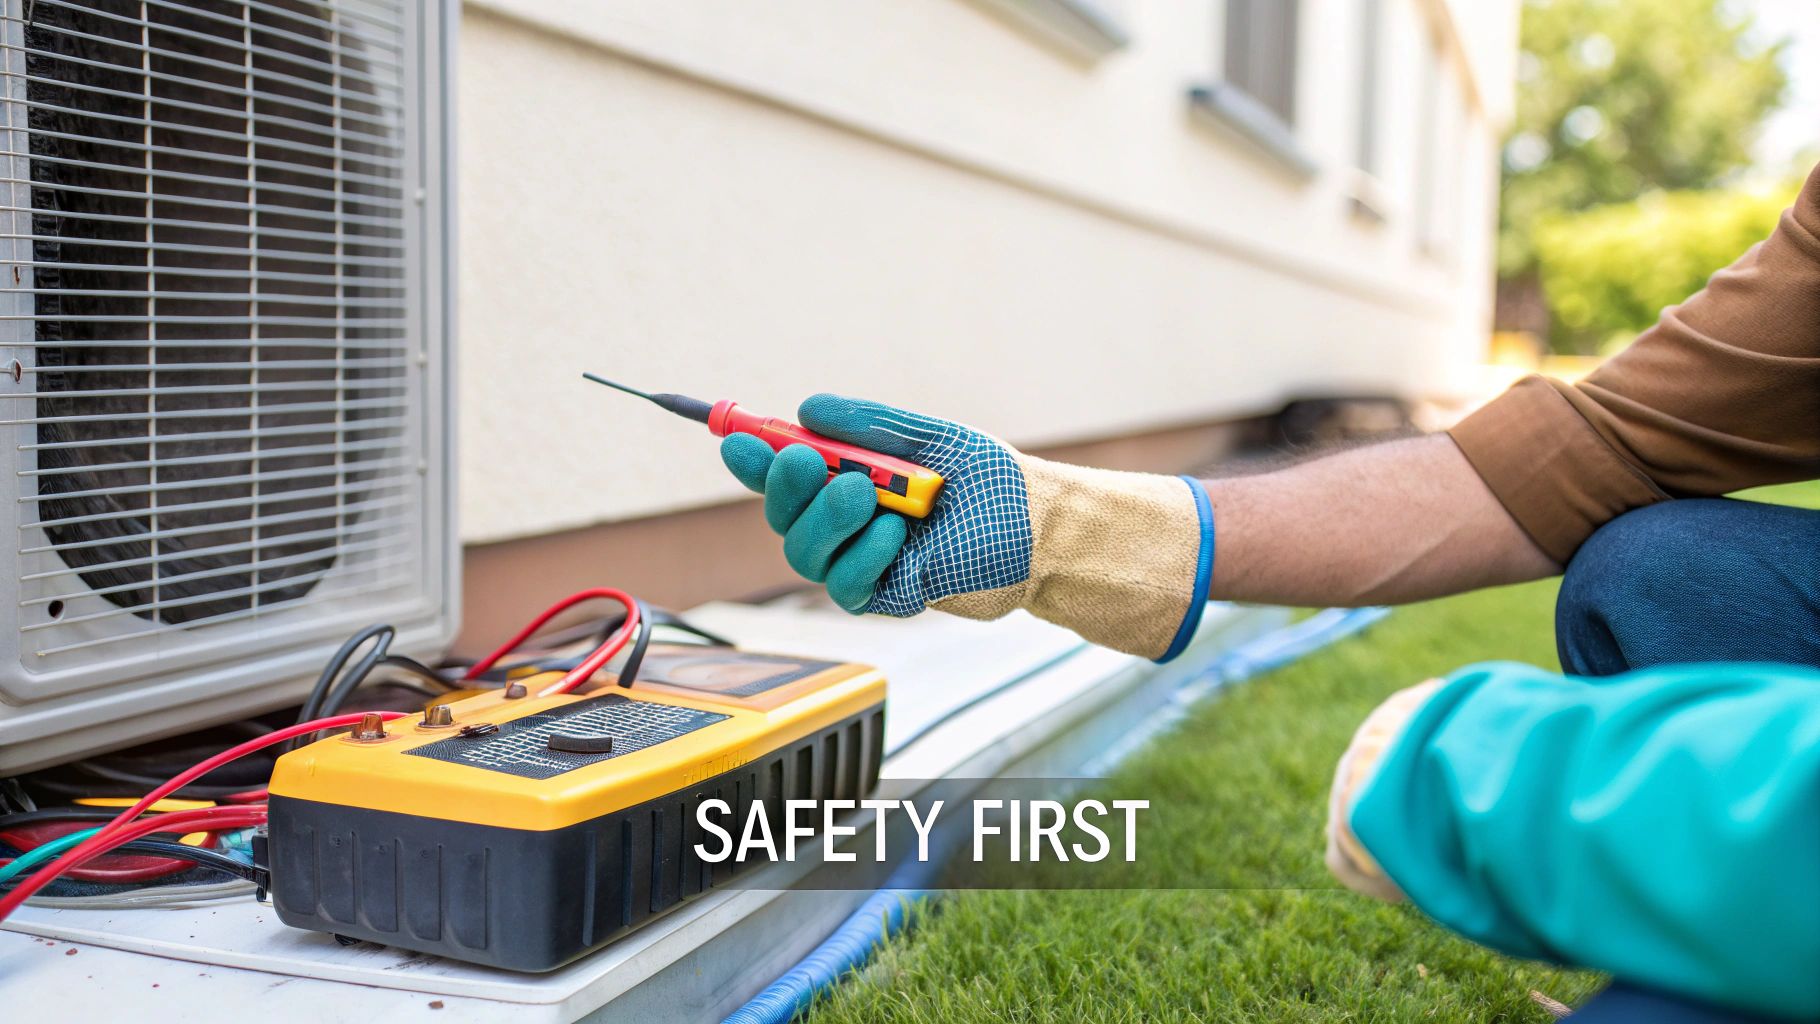
Before you even think about opening up your AC unit, let’s talk safety. This is the most important part of the entire job, and it’s non-negotiable. The outdoor unit runs on 240 volts—a serious amount of power that can cause severe injury if handled carelessly.
Your first move is inside. Walk over to your thermostat and set the system to OFF. This ensures it won’t try to kick on while you’re in the middle of your work.
Next, you need to kill the power to the outdoor unit completely. For a job like this, I always use a two-step shutdown method just to be absolutely certain the system is dead.
Securing the Power Source
First, find your home's main electrical panel, often called the breaker box. Look for the breaker labeled "AC," "Condenser," or something similar. It's usually a large, double-pole breaker (think two switches fused together). Flip it firmly to the OFF position.
Now, head outside to your condenser unit. Look for a smaller metal box on the wall right next to it—this is the outdoor disconnect. Open the cover and either pull the disconnect block straight out or flip the switch inside to OFF. The unit is now totally isolated from the power grid.
Pro Tip: Even after I’ve cut the power at both spots, I always try to turn the AC on at the thermostat again. If the unit stays silent, I know it's truly safe to open up the access panel.
Once you're confident the power is off, it’s time to get your tools ready. You don’t need a huge collection for this task, just a few key items.
- Multimeter: This is your most important tool. You’ll need it to test for voltage and check resistance (Ohms).
- Insulated Screwdriver: A good screwdriver with a rubberized handle is a must for an extra layer of safety.
- Nut Driver or Socket Wrench: The service panel on most units is held on by hex-head screws.
- Work Gloves: These will protect your hands from the sharp sheet metal edges inside the unit.
Having these tools on hand will make the job go smoothly and safely. Of course, the best way to deal with problems is to prevent them in the first place. Following a good HVAC preventive maintenance checklist can help you catch issues before they turn into a weekend headache.
Alright, let's get that section sounding like it came from a seasoned pro, not a robot. Here’s a completely rewritten version that's more natural, conversational, and packed with practical advice.
Start With a Quick Visual Inspection
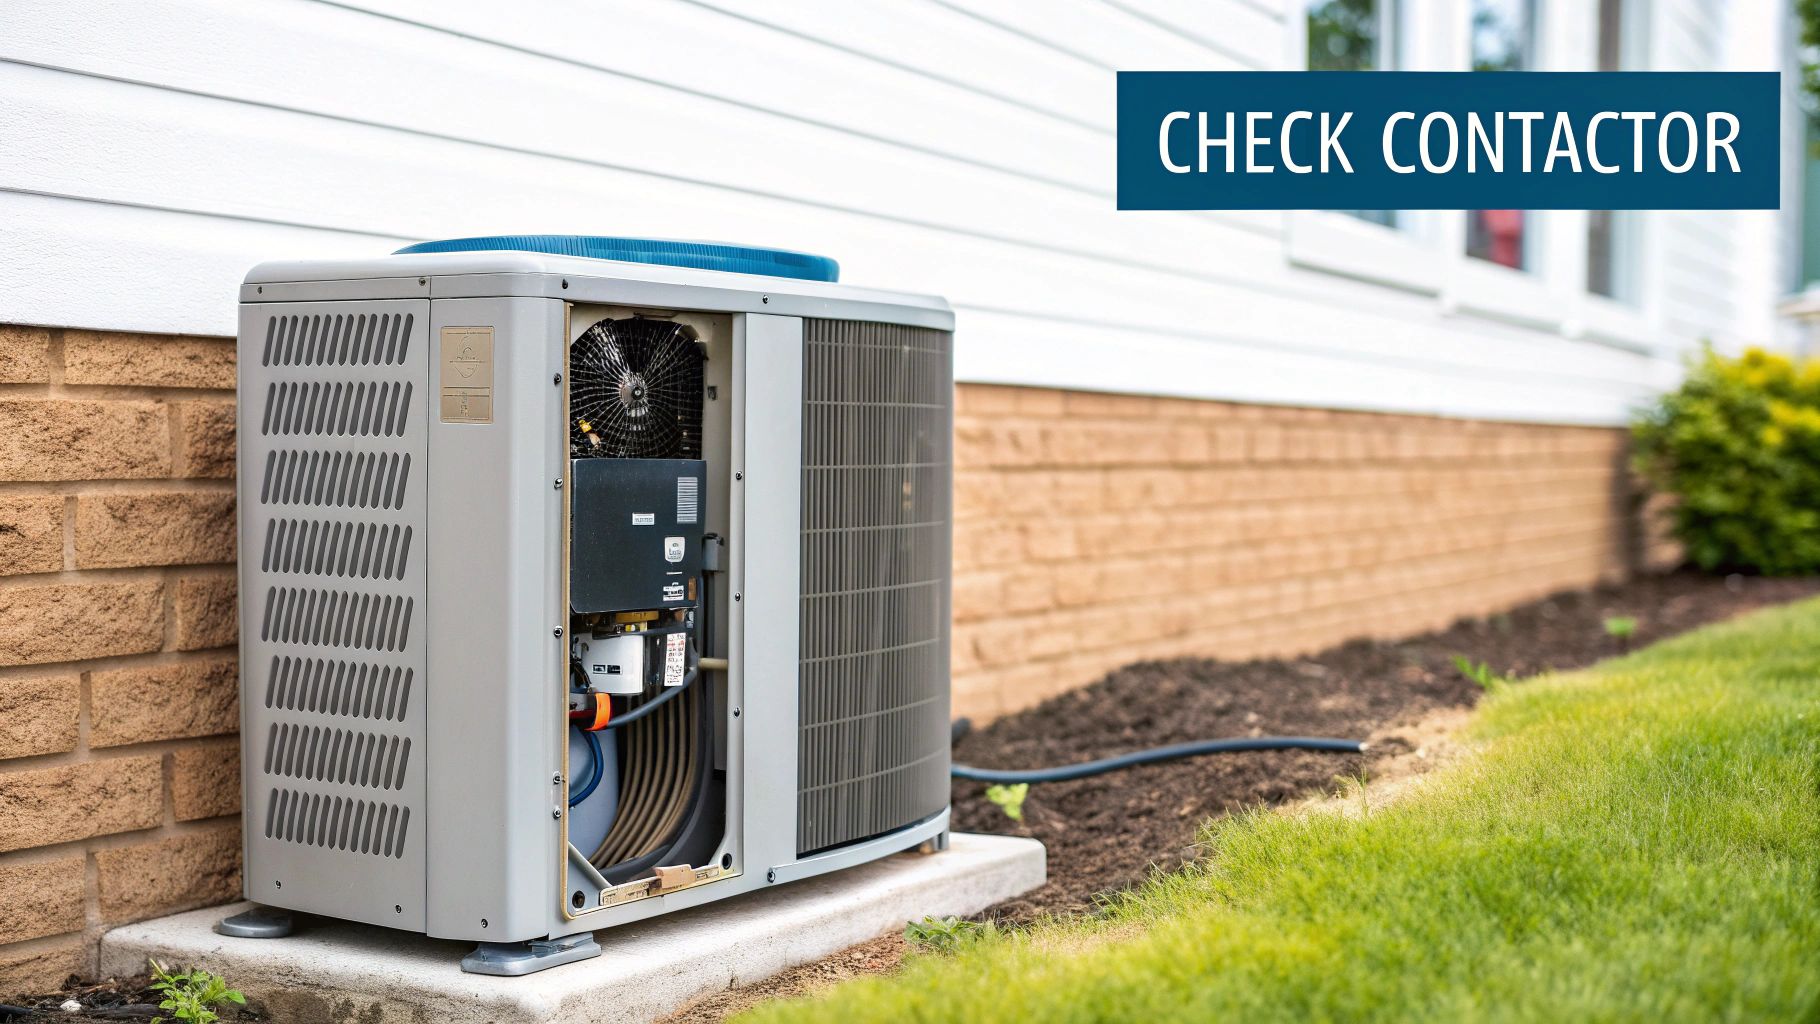
Once you're absolutely certain the power is off, go ahead and remove the electrical access panel on your outdoor condenser unit. You’ll be looking at a tangle of wires and components, but don't get intimidated. The contactor is usually a small, block-like switch, often with a plastic button or plunger right in the middle.
Honestly, a lot of the time, just giving it a good look is all it takes to spot the problem. Before you even think about grabbing a multimeter, take a moment to really examine the contactor's body and the terminals where the wires connect.
Look for the Telltale Signs of Failure
You're searching for obvious signs of electrical burnout or physical damage. It doesn't take a trained eye to spot these problems once you know what to look for.
- Sooty, black marks: Any charring around the connections is a dead giveaway. That means it's been arcing and overheating.
- Melted plastic: If the casing looks warped, discolored, or like it got too hot, the contactor is toast. It's failed and needs to be replaced immediately.
- Pitted contacts: Peep inside at the metal contact points. If they look burned, cratered, or heavily pitted, they can't make a solid connection anymore.
A Pro's Two Cents: I've seen countless contactors fail simply from the stress of doing their job day in and day out. That constant clicking on and off eventually takes its toll. You might hear a buzzing or chattering noise from the unit before it completely gives up—that's often the sound of the internal coil weakening and a sure sign trouble is brewing. You can dig deeper into what causes HVAC contactor failure if you're curious.
Here's a quick cheat sheet to help you identify what you're seeing.
Visual Signs of a Failing AC Contactor
| Symptom to Look For | What It Indicates | Recommended Action |
|---|---|---|
| Black/Sooty Residue | Electrical arcing and overheating. | Replace the contactor immediately. |
| Melted or Warped Plastic | Severe overheating; a major failure. | Replace the contactor. |
| Pitted or Burned Contacts | Worn out from repeated use. | Replacement is necessary for a reliable connection. |
| Insects or Debris Inside | A physical blockage is preventing contact. | Clean it out or, for a more reliable fix, replace it. |
| Stuck Plunger/Button | The internal mechanism has failed. | The contactor needs to be replaced. |
This table should help you quickly match what you see with the likely problem and what you need to do about it.
Don't Forget About Unwanted Guests
Sometimes, the culprit isn't mechanical wear but something a bit creepier. For whatever reason, ants and other small insects are drawn to the low hum and magnetic field of electrical parts. They have a nasty habit of crawling inside the contactor for a warm place to hang out.
The real trouble starts when the contactor tries to close. Those bugs get squashed right between the metal contacts, creating a barrier that prevents a good electrical connection. If you see a pile of fried ants or what looks like a tiny nest, you’ve probably found your issue. A quick look can often save you the hassle of breaking out the testing tools.
How to Test the Contactor with a Multimeter
If your visual check didn't reveal a smoking gun like melted plastic or fried ants, it's time to break out the multimeter for a definitive answer. This is how you'll know for sure if the contactor is the real culprit behind your AC troubles. Remember, keep the power completely disconnected for these tests. We'll run two quick checks that cover the contactor's two main jobs.
First up, we'll see if electricity can pass through the main terminals when the AC is supposed to be running. This is what's known as a continuity test.
Testing the High-Voltage Contacts
Turn your multimeter dial to the Ohms setting—it’s the one with the horseshoe symbol (Ω). This setting measures resistance.
- Touch one of the multimeter’s probes to a high-voltage terminal on the top of the contactor.
- Now, touch the other probe to the corresponding terminal directly below it.
With the plunger just sitting there, your meter should read "OL," which stands for "open line" or "overload." That's exactly what you want to see. It means no electricity is flowing through when the AC is off.
Next, grab your insulated screwdriver and gently but firmly press down the plastic plunger in the center of the contactor. While holding it down, test the same two terminals again. This time, the reading should drop to a very low number, ideally close to zero ohms.
What This Means: A reading near zero tells you there’s a good, clean connection. The "drawbridge" is down, and power can flow. If the meter still reads "OL" or shows a high resistance number even with the plunger pushed in, the internal contacts are shot. They've become too corroded or pitted to connect properly, and you'll need to replace the contactor.
The infographic below shows some of the visual red flags—like charring and pests—that often point to a failed contactor before you even grab your meter.
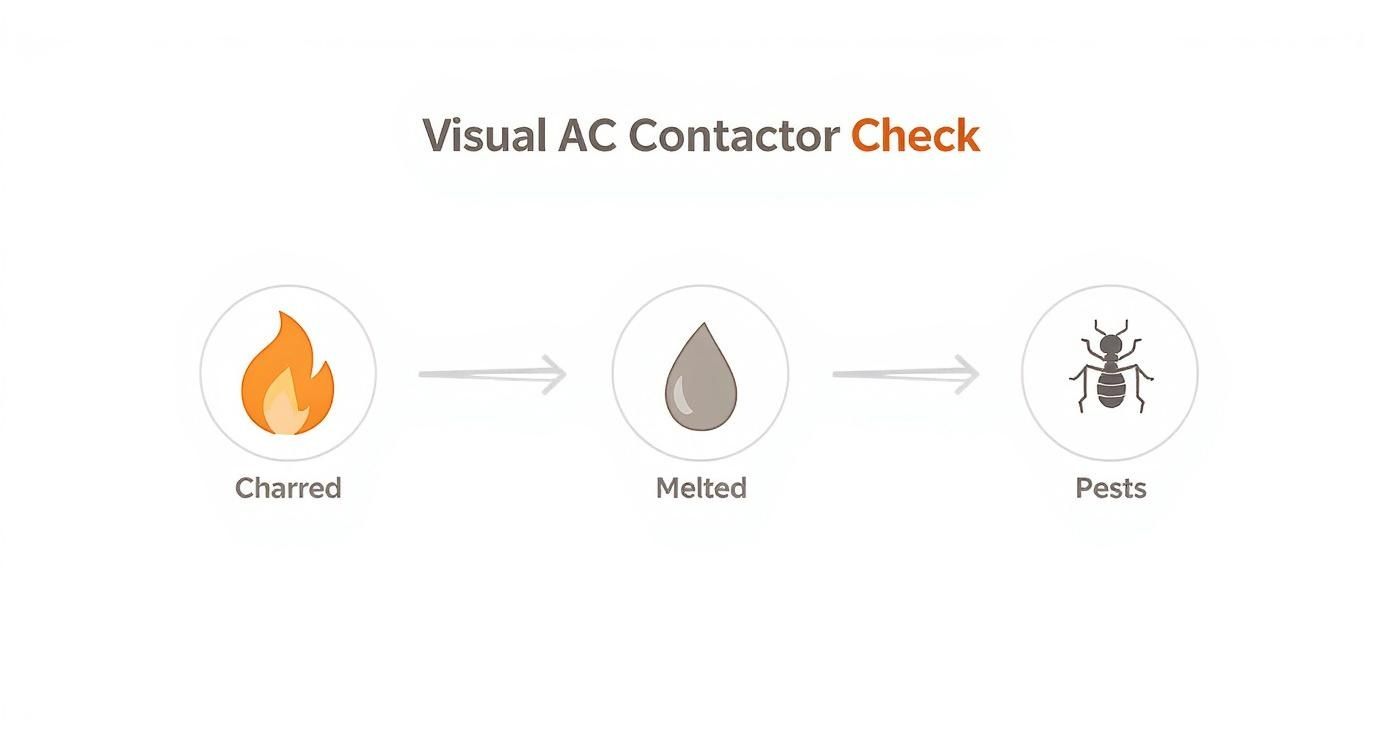
As you can see, physical damage like burning or melting is a dead giveaway that the part has failed, often because of the same internal wear and tear that a multimeter test will confirm.
Checking the Low-Voltage Coil
The second test is all about the little electromagnet that pulls the plunger in—the coil. You'll find two small, low-voltage terminals for this, usually on the sides of the contactor where the thin wires from your thermostat connect.
Keep your multimeter on the Ohms setting. Touch one probe to each of these two low-voltage terminals. Don't worry about which probe goes where; it doesn't matter for this test.
You're looking for a specific resistance reading. A healthy coil will typically show something between 5 and 20 ohms. The exact number isn't super important, just as long as it falls somewhere in that ballpark.
If your multimeter reads "OL," it means the wire inside the coil is broken, so it can't create the magnetic field needed to pull the plunger down. If it reads zero, the coil has shorted out. Either way, the coil is bad, which means the whole contactor is bad. This quick check confirms whether the contactor can even get the signal to turn on in the first place.
Making Sense of Your Test Results
https://www.youtube.com/embed/YCygHajsW34
Alright, you've done the tests. Now, let's figure out what those multimeter readings actually mean for your AC unit.
Sometimes, you don't even need the meter to tell you the story. If you saw any obvious burn marks, melting plastic, or heavy pitting on the contacts during your visual check, the contactor is toast. It's time for a replacement, no questions asked.
The multimeter just confirms what you might already suspect. If you got an 'OL' (Open Line) reading during the continuity test while the plunger was pushed in, it means the internal contacts are too worn out to close the circuit. Similarly, a reading of 'OL' or a flat zero on the coil resistance test points to a fried electromagnet. Any of these results mean the part has failed and needs to be replaced.
Believe it or not, this is a really common failure. Contactor issues account for a surprising 10-20% of all HVAC service calls. According to industry data from ContractingBusiness.com, this one little part costs homeowners around $400 million a year in replacements. So, if you've found this to be your problem, you're definitely not alone.
What If the Contactor Passed the Test?
So, what happens if your contactor looks good and tests out perfectly? Well, that just means your problem is somewhere else in the system. Don't worry, you've just successfully ruled out one of the most common culprits.
The next likely suspects are often a bad capacitor or something as simple as a blown fuse. Before you throw in the towel and call for backup, it's worth checking the fuses. We have another guide that walks you through how to tell if an AC fuse is blown.
The Bottom Line: Finding a bad contactor is actually good news for a DIYer. It’s a straightforward, inexpensive fix that you can confidently tackle. But if your tests came back fine or you're just not 100% sure what you're seeing, that's the perfect time to call in a pro. Better to be safe than sorry.
Common Questions About AC Contactors
So, you've inspected and tested your contactor. What's next? You probably have a few questions floating around, especially if this is your first time digging into your AC unit. Let's tackle some of the most common ones I hear from homeowners.
How Much Does It Cost to Replace an AC Contactor?
The good news is that replacing a contactor is one of the more affordable AC repairs you can run into. If you're comfortable doing it yourself, the part itself is surprisingly cheap—usually somewhere between $20 and $50 at an HVAC supply store or online.
If you'd rather leave it to a professional, the total cost will naturally be higher. You can typically expect to pay between $150 and $350 for the part and the labor. Honestly, because the component is so inexpensive, it's often a smart move to just replace a contactor that's showing any real signs of wear. It can save you from a breakdown on the hottest day of the year.
Can I Use a Universal Contactor for My AC Unit?
Most of the time, yes, a universal contactor will work just fine. But you have to be careful here—you absolutely must match the key specs of the original part. Getting this wrong can cause some serious damage to your system.
When you're picking out a replacement, focus on three critical ratings: the coil voltage, the amperage, and the number of poles. For most homes, the coil voltage will be 24V. The amperage will be something like 30A or 40A, and it will be either a 1-pole or 2-pole setup. My best advice? Snap a clear photo of the label on your old contactor before you buy anything.
What if a New Contactor Doesn't Fix My AC?
This is a frustrating moment, but it happens. If you swap in a new contactor and your AC still won’t kick on, it just means the problem is somewhere else in the system.
Common culprits are often a bad capacitor (another relatively easy fix), a thermostat that isn't sending the 24V signal, or something more serious with the fan motor or even the compressor itself. For a deeper dive into other potential issues, this ultimate AC troubleshooting guide can be a huge help.
If you've figured out the contactor is bad but don't feel comfortable making the swap, that's perfectly fine. And if the problem seems more complicated, it's always best to call in the pros. Florida Cooling Group offers 24/7 expert service to get your system running safely again. Visit us at https://floridacoolinggroup.com to schedule your repair.